This is a beginner accessible piece of industrial terrain that has the flexibility for more experienced builders to expand and elaborate, or just to knock out a couple simple pieces in a short period of time.
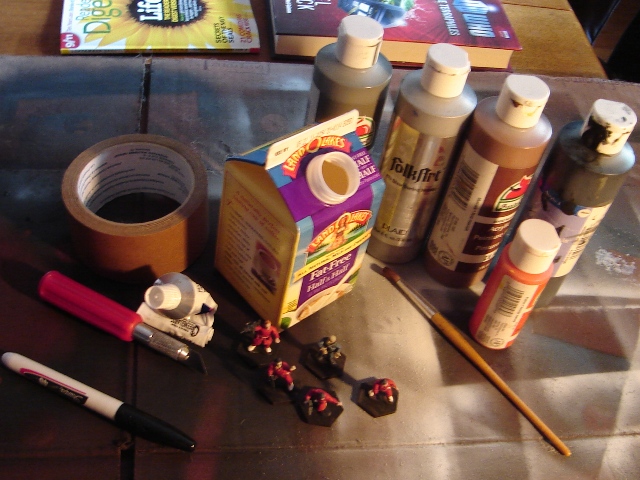
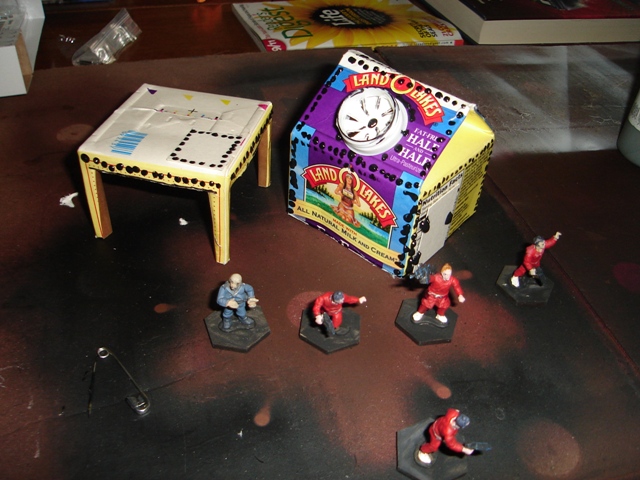
The main piece here is a one pint creamer container. It already has a basic shape that is usable and it is made from some pretty thick, treated card, so the resulting model will be plenty sturdy. One key issue is to make sure you rinse it well! I like to rinse, then give it an extra swish with a shot of bleach, just to make sure. This is mostly because I don't want cockraoches and waterbugs moving in to my terrain because they smell food. I use a lot of food containers, and haven't had problems. Mostly because I have friends who have had problems using food containers. Wash it out.
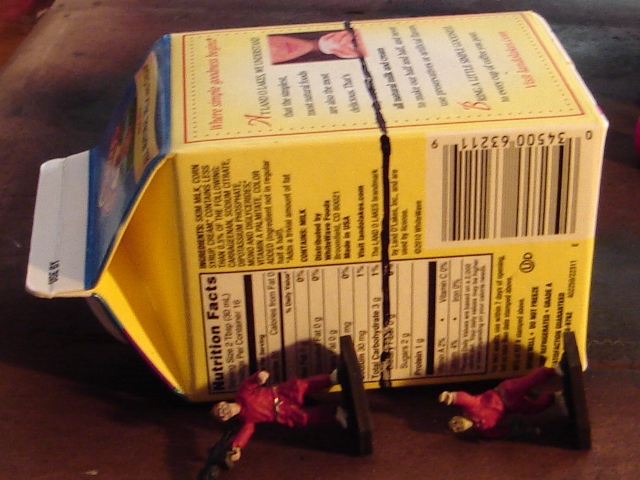
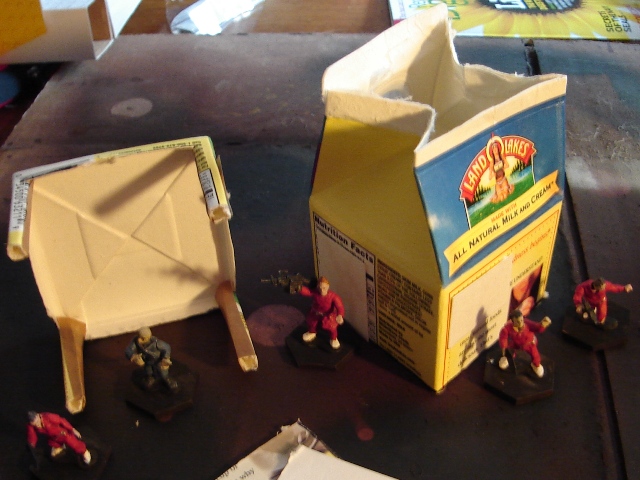
Since this is not a microprecision scale model of an existing structure, we have license to define things how we like. the length and width are already done for us, so it is up to us to pick a height that will look good with our figures. While not completely to scale, in general, I find that having the eaves one head taller than the figures looks good from arms length. Oh, look ... we used another figure to measure the size of the bottom ... I wonder why...
Oh! I see why now. For the full pint, we get a house shaped building and an awning/shelter. (We even gave that away in the title). The next part is to draw lines and cut out the sides of the shelter so it has free communication. We made the "legs" of the shelter double width. I eyeballed the lines for the sides, but feel free to measure and mark them. I have a decent degree of experience (read: I have screwed up a lot of projects), so I feel comfortable eyeballing it for this level of project.
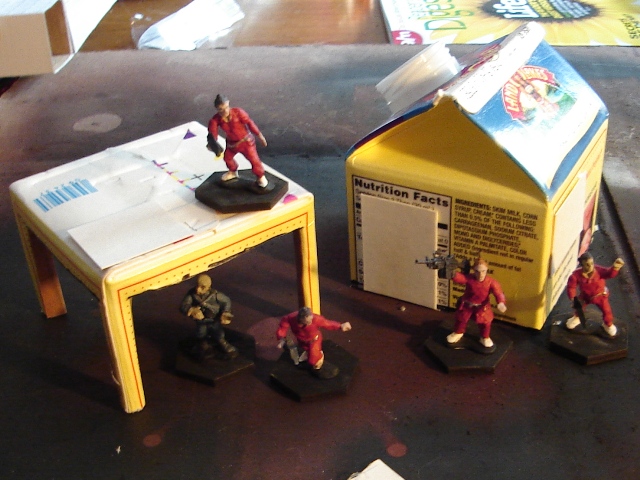
Things are starting to shape up better now. Next thing is to notch the tops of the legs so you can fold each side in half. Then half of the leg will be folded into the inside and taped together. This will make sense when you see look at the next picture. Also, I hope noone pitched the extra pieces because now it is time to cut them up for additional detail. You will need a door. The remaining pieces can be cut up for slats, hole covers, window blinds, etc. Whatever. You need to leave one of them alone for later.
Hopefully you can see what all the fuss about folding and extra stuff on the legs was. If this gets too frustrating, feel free to leave the legs as just L pieces instead of closing them off. We've also opened the top and cut off three sides of the flap, leaving one big piece that we will fold over when we close it back up. You can also see the door and window placement. Double doors or more elaborate shapes like hatches and meshed doors are also good. Don't worry about how square it looks now ... we'll spice it up in a minute.
We have the top closed back now, just by folding the opening back together and gluing the flap down. That makes a huge difference in style from the way the carton comes and is as easy as can be. The next two steps are equally simple and yield awesome results. Now its time for a little ventillation.
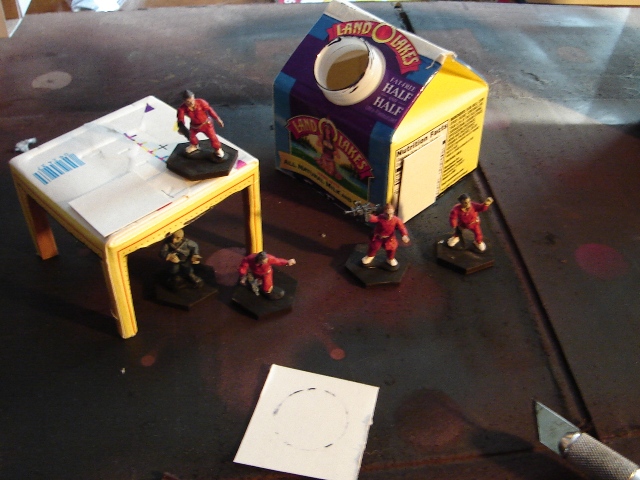
Since we have the cream container with the spout, it seems a wase not to use that. So we are going to put a fan blade in it. First, we need to size the fan so it fits in the spout. You can spend a lot of time measuring and marking circles. Or, you can just smear ink all along the edge of the circle and press it on the piece like a stamp. I chose the latter.
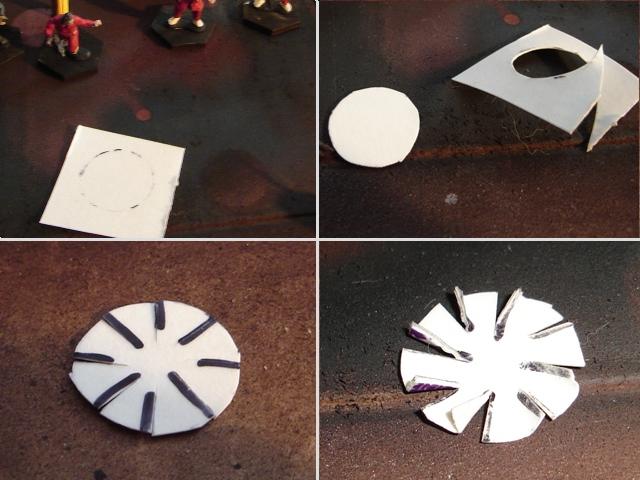
We are going to use a technique I saw on Terragenesis to make a fan blade for the spout. First, cut out the circle. Go ahead and cut it big - it will be easier to trim it later than to try to futz with one that is too small for the spout. Now mark the circle in eigths and cut slits. I used eights because it is pretty easy to mark halfsies, mark halfsies again, and then one more time to get fairly even eighths. You can really go for any number you want. Now, going around the circle, fold up one side of the blade. Just glue the blade in the spout. That's it!
Now with the pieces assembled, I want to add one of my favorite details -- rivets! Nearly every manufactured thing from the mid 19th century or later looks cooler with some rivets on it. There are many different ways to add rivets, and many of them are fiddling. If you are going for an accurate reproduction, you should fiddle away. But this is a little auxilliary piece, so I am using "puff paint". Puff paint is the latex paint pen thing you find in craft stores for making raised designs on fabric. When it dries, it shrinks a little, but overall, it leaves a raised blob of latex. So, I just grab a bottle and start leaving dots wherever I think they would look good. Mine aren't evenly spaced or the same size, but they were quick. If you want more control, you can certainly take more time, brace your hand against a rip fence, and even out down guide marks beforehand. Note that the puff paint also makes nice hinges and handles for doors and hatches.
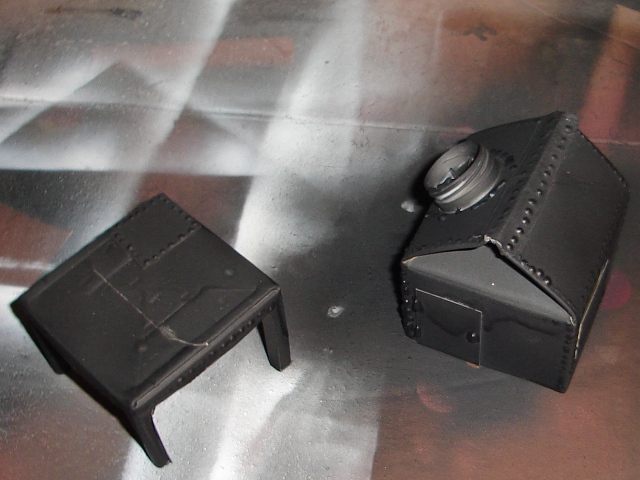
This is the longest part of the project. I took the pieces outside and spraypainted them with Rustoleum black primer. I think this is vital to get quick and good coverage for painting later on. Primer always helps rugged up your paintjob, even if you are using cheap craft paints like the ones I show above. I included this piece because the upcoming paintjob I use isn't for everyone. It is keyed to match dirty, smudgy, sloppy, post apocalyptic industrial terrain. But i think this shot shows the potential for other uses. It also shows how painting ameliorates the irregularity of the rivets. They look a lot better here.
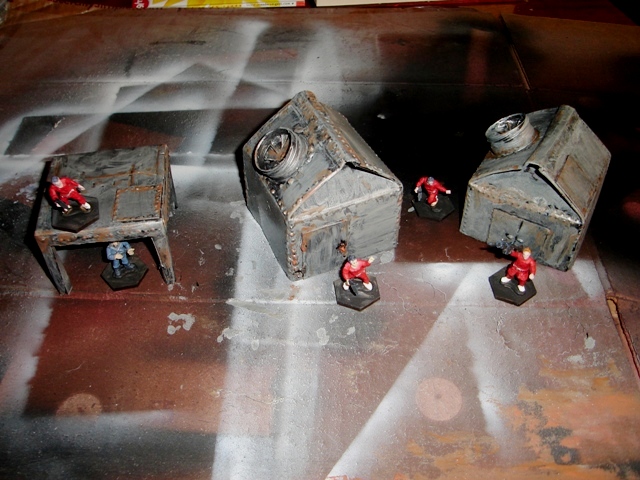
Metallic paints are always so ... well ... metallic. They work well to highlight or draw attention to parts and make them shiny and new. My building, however, is not shiny and new. A great trick I have learned is to start with the shiny paint and put a daub of a regular color in it. This results in a muted, but still metallic look. You may have to experiment to find a ratio you like. The less regular paint, the less muted. I used silver and pewter grey for these. After painting the base coat, while it is still wet, I added rust by drybrushing brown over rivets, joints, and anywhere two pieces come together. Since the basecoat is still wet, you can blend it in a bit. Overtop of that, I added a few drybrush hits of bright orange, to give some depth to the rust look.
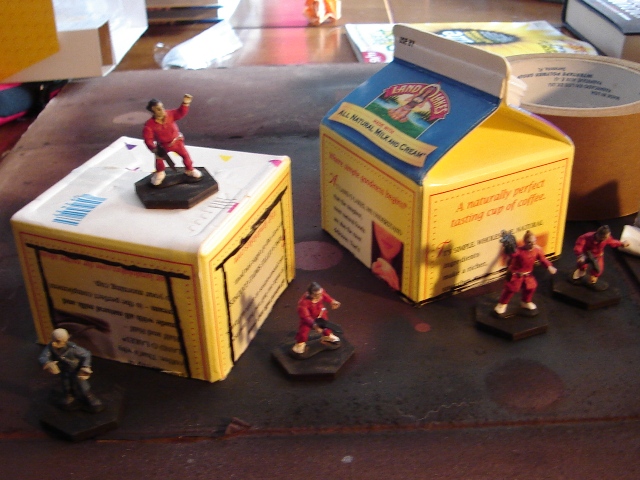
And, no, you're not seeing half-double. :) I threw in an older one of these that I had done a while back to show how they look multiplied up. Actually, the scratchboard I am working on wouldn't make a bad piece of messed up industrial tarmac...
UPDATE:
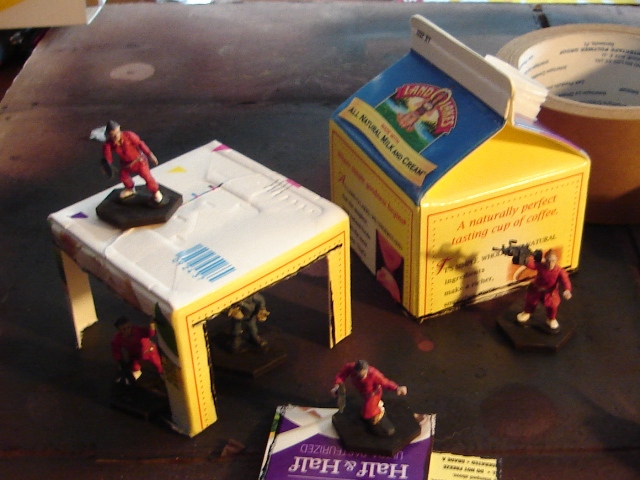
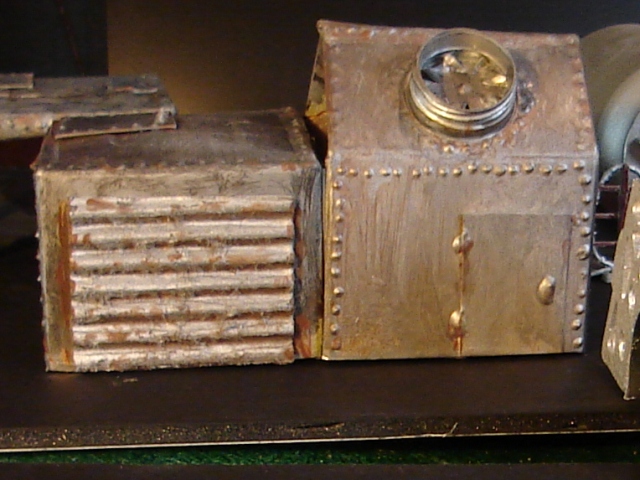
We had a full quart sized creamer container donated after posting this, so with the extra material, we went for a full attached garage. The top and bottom piece were kept relatively the same size as the other buildings, which left us a whole middle section for fanblades, doors, and plates. The corrugated cardboard = corrugated tin trick should be old hat to some, but, even for us we find examples of how to use it helpful, stimulating, and motivating us to new work ... because who really could have too much terrain?